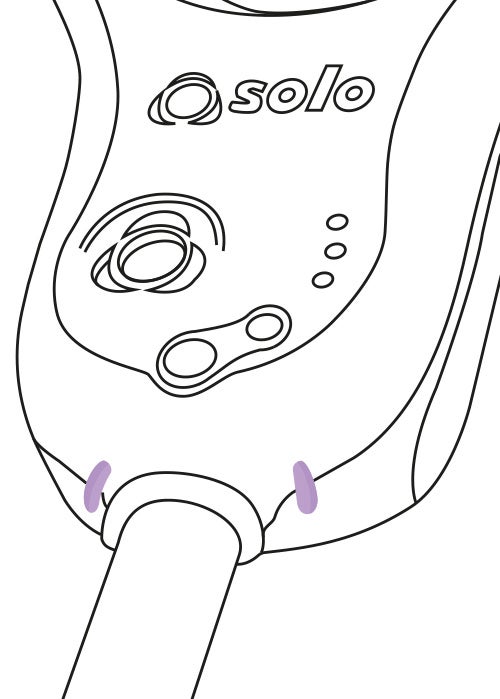
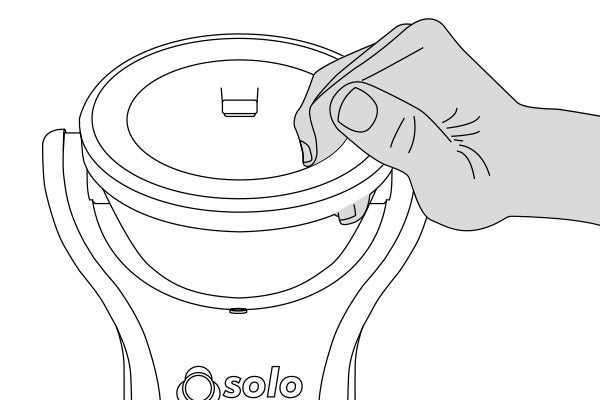
3. Carefully re-insert the smoke generator, then the smoke cartridge and finally the battery. Ensure the clips engage securely for each component, and especially for the generator.
Press and hold the generator down firmly for a few seconds to “seat” the generator. When inserting the smoke cartridge, retain the pressure on the back of the cartridge for at least 3 seconds to ensure a secure fit.
Switch the unit on.