Support for your Testifire XTR2

Most Common Topics
No smoke generation can occur when Testifire XTR2 is not used for several days, and for the majority of cases, a manual purge will resolve the issue and return the tester to full working order.
Alternatively, Inspect the Smoke Generator
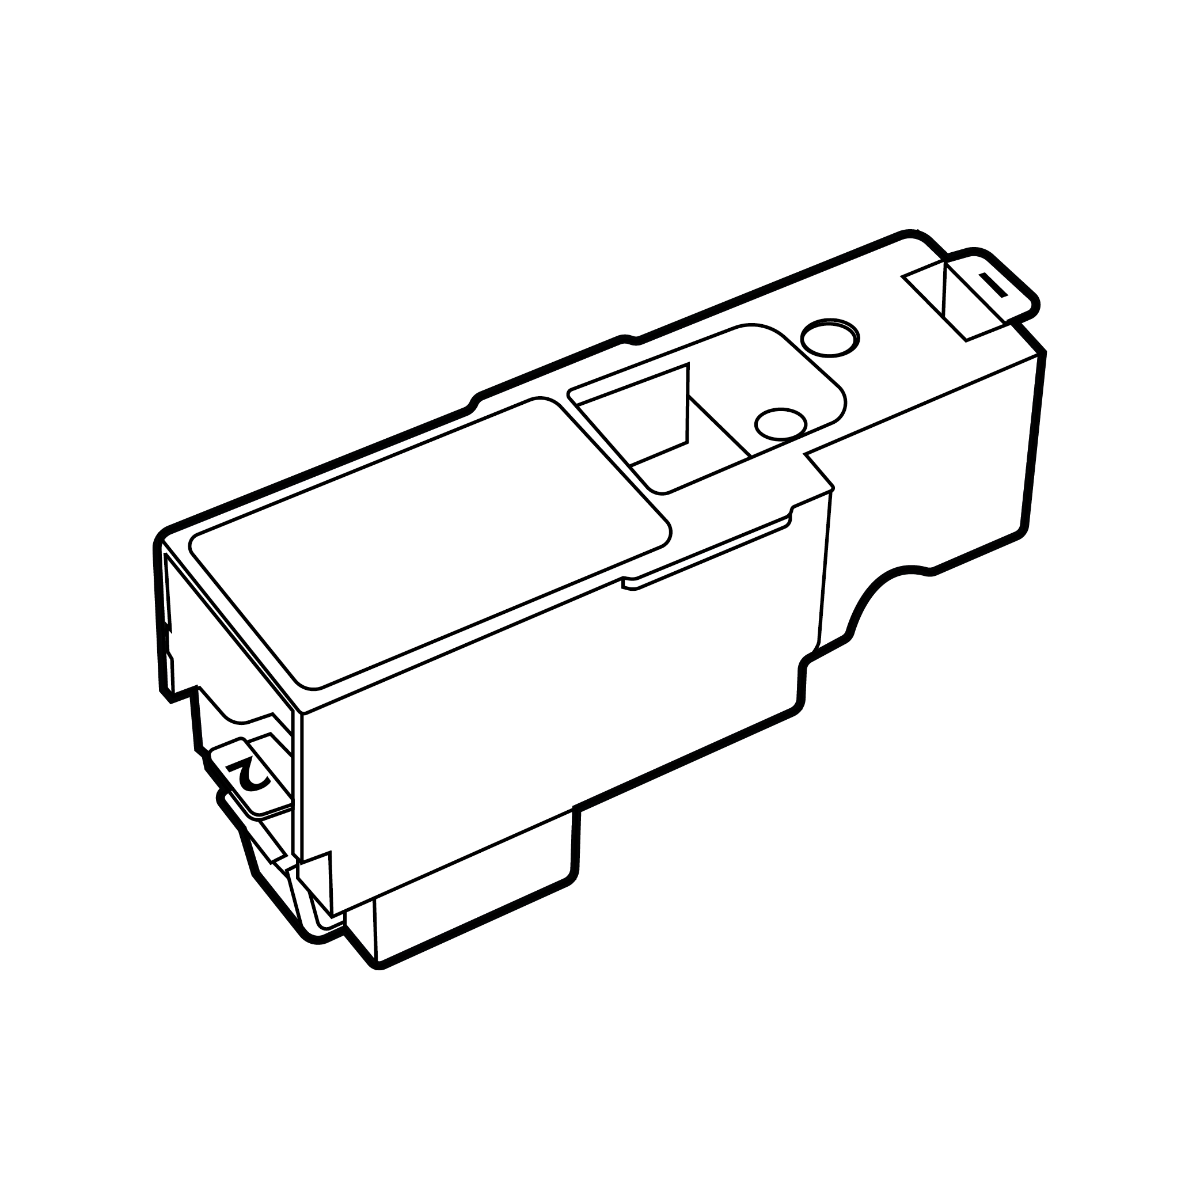
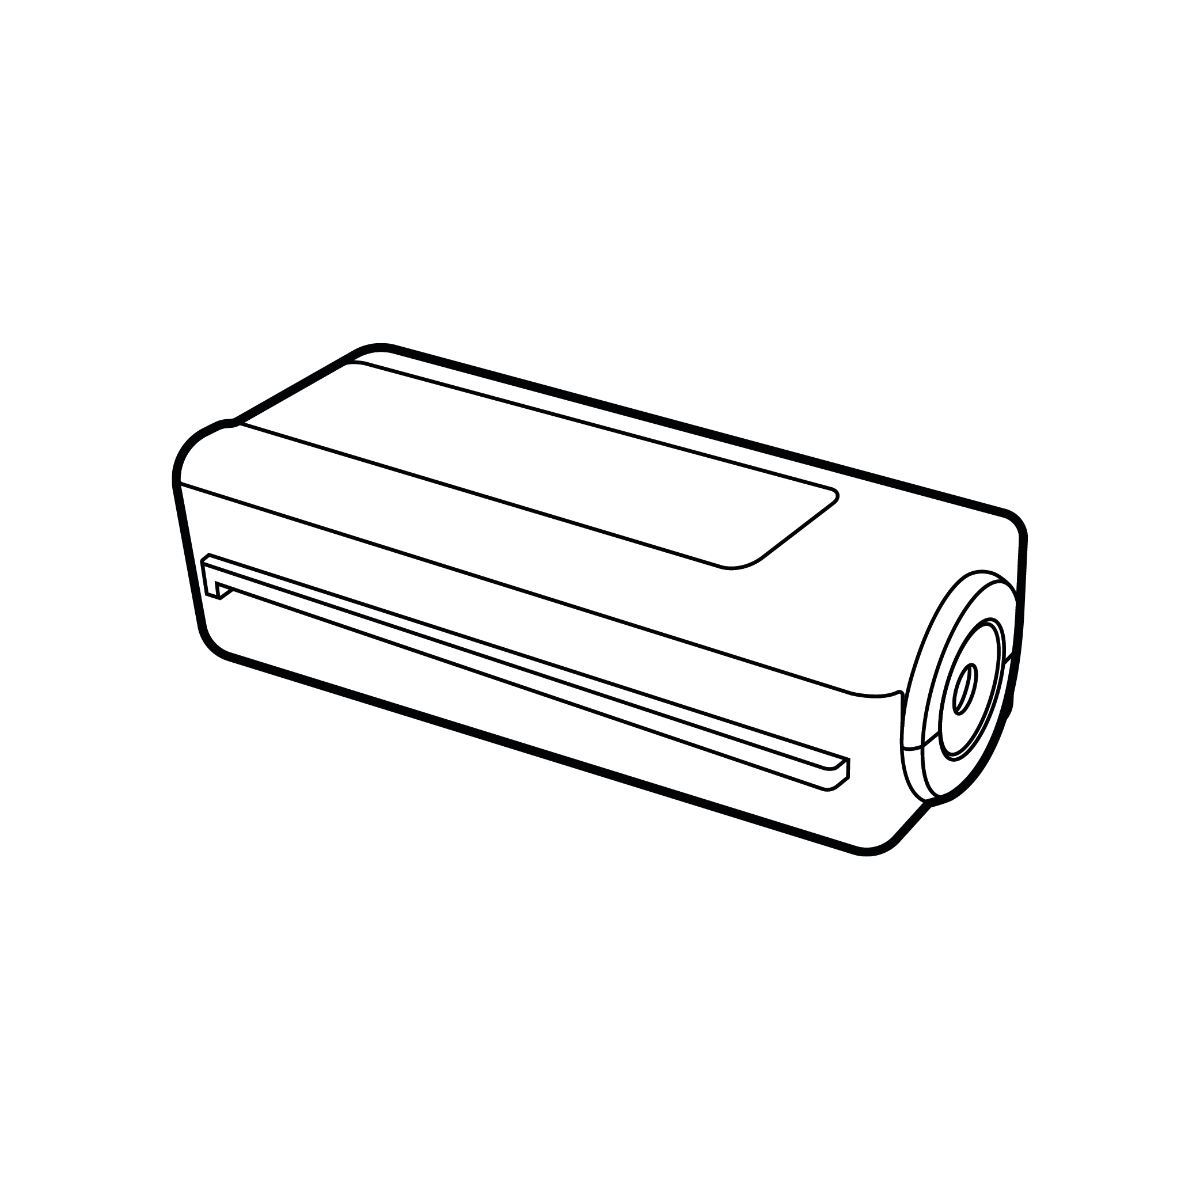
1. Turn the unit off. Remove the battery, smoke cartridge and smoke generator.
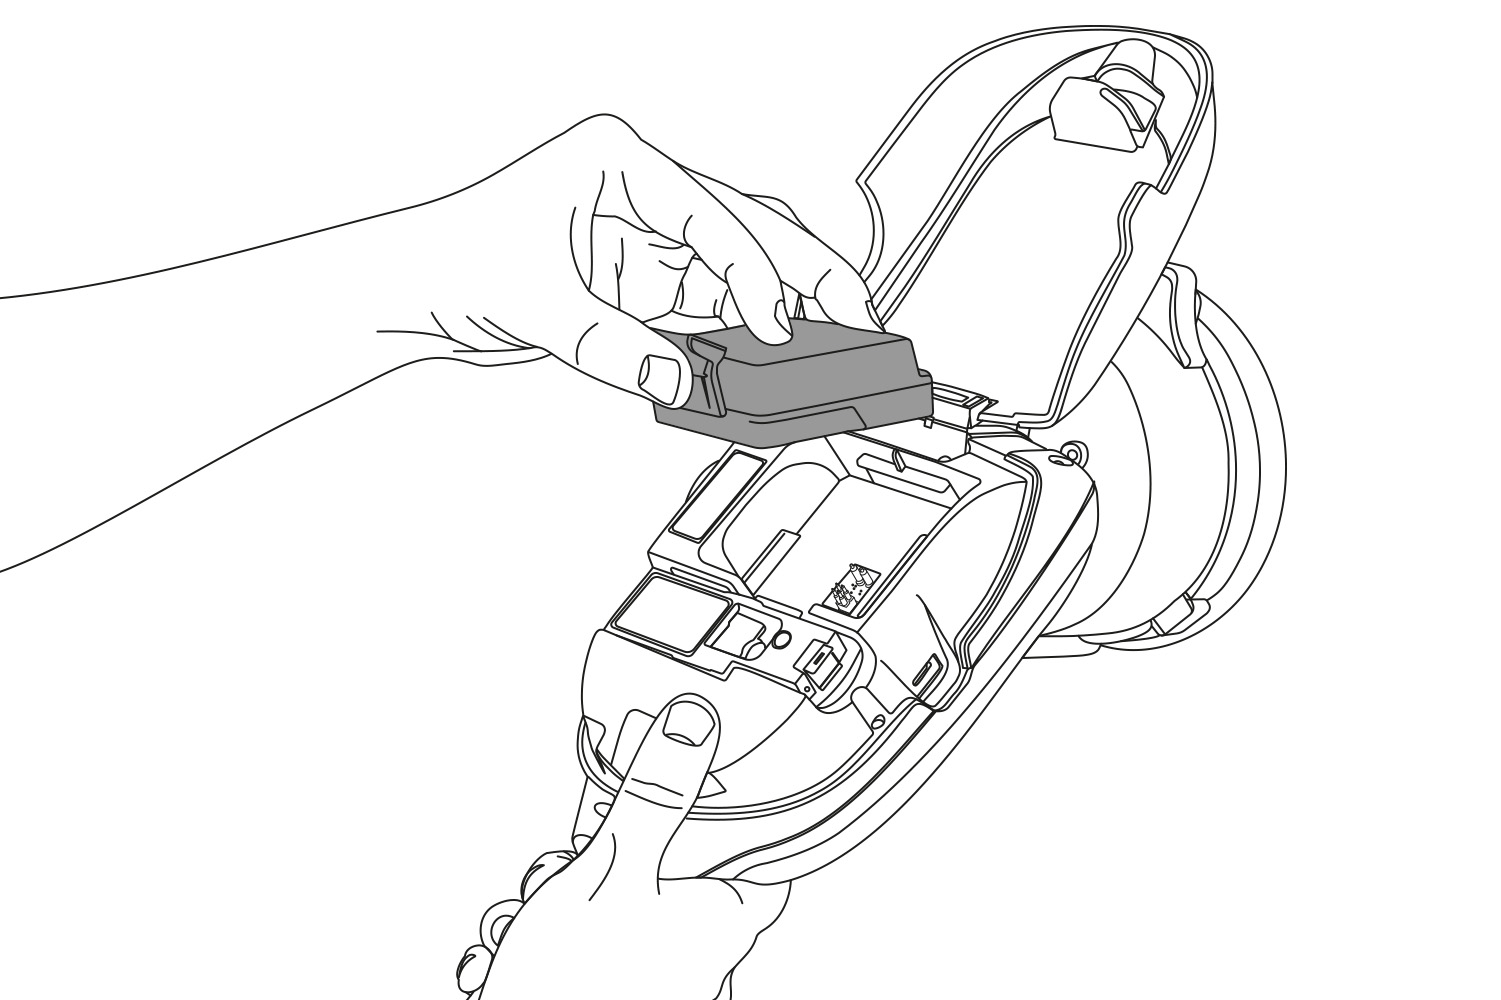
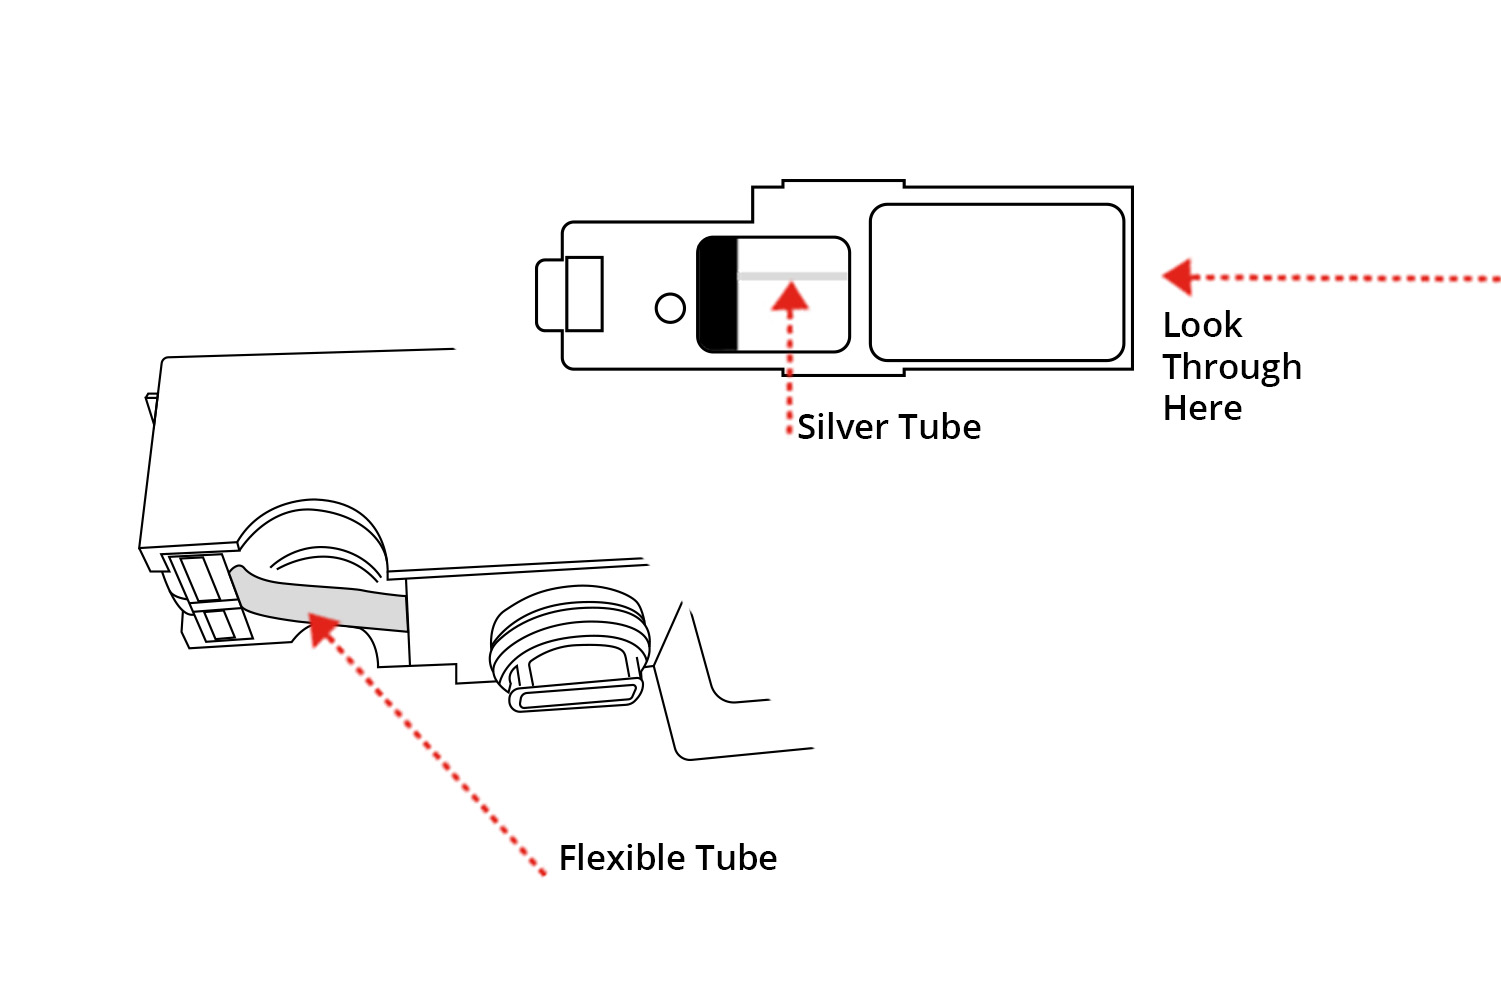
2. Hold the smoke generator so you are looking into the cartridge opening at the silver tube. Press the flexible tube at the lower back of the generator and see if the liquid comes out of the silver tube. Keep doing this until it does.
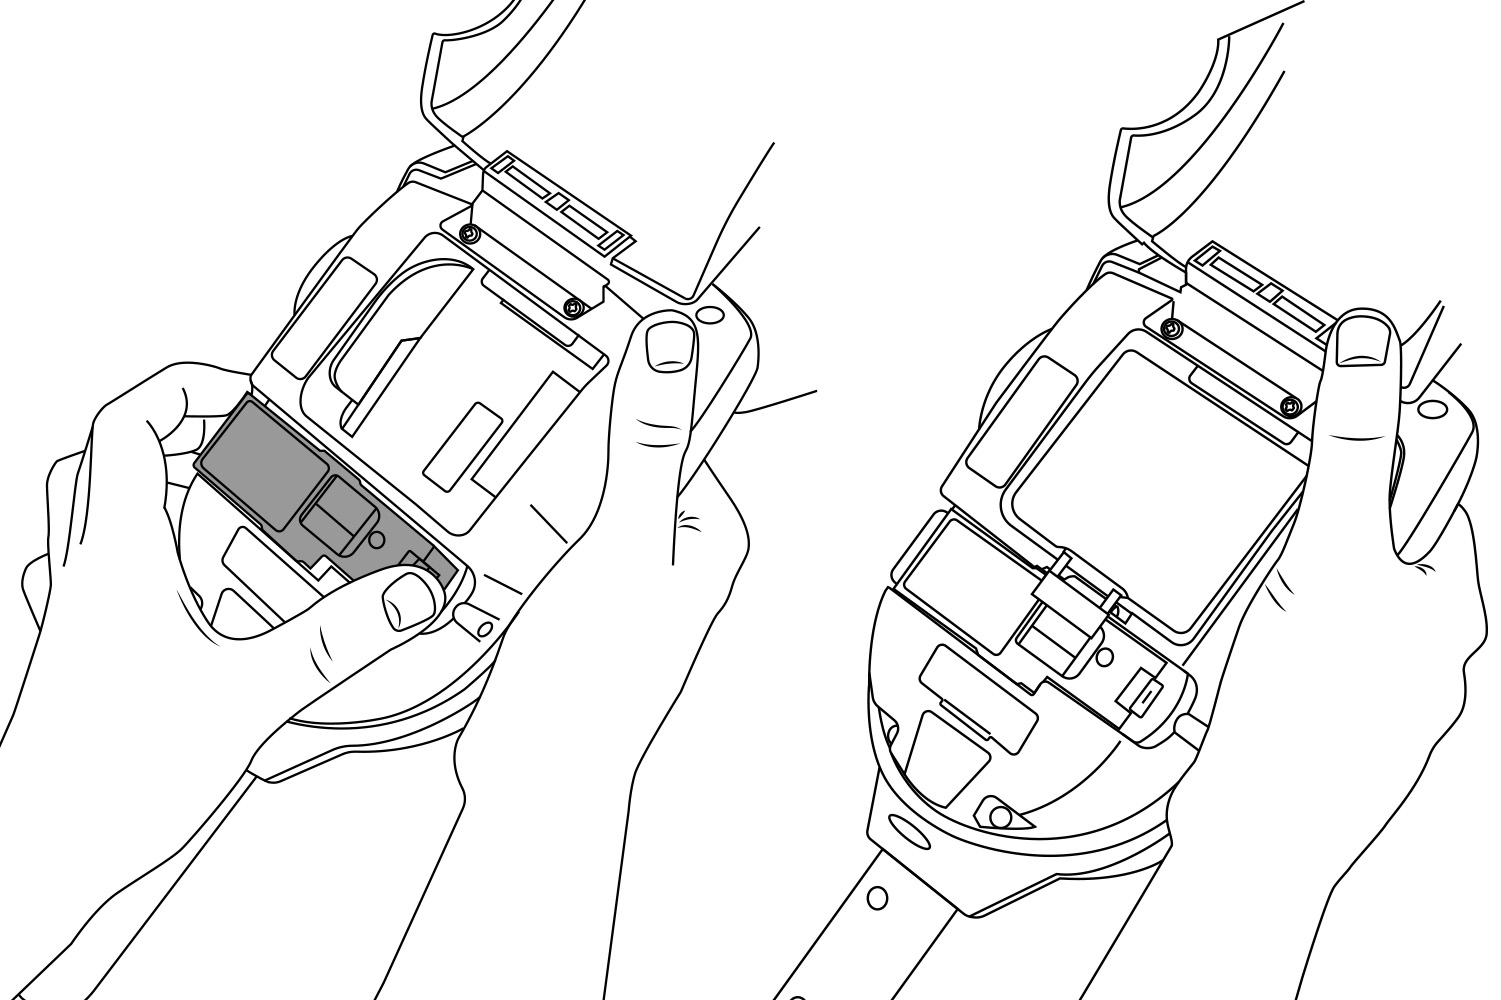
3. Carefully re-insert the smoke generator, then the smoke cartridge and finally the battery. Ensure the clips engage securely for each component, and especially for the generator. Press and hold the generator down firmly for a few seconds to “seat” the generator. When inserting the smoke cartridge, retain the pressure on the back of the cartridge for at least 3 seconds to ensure a secure fit. Switch the unit on.
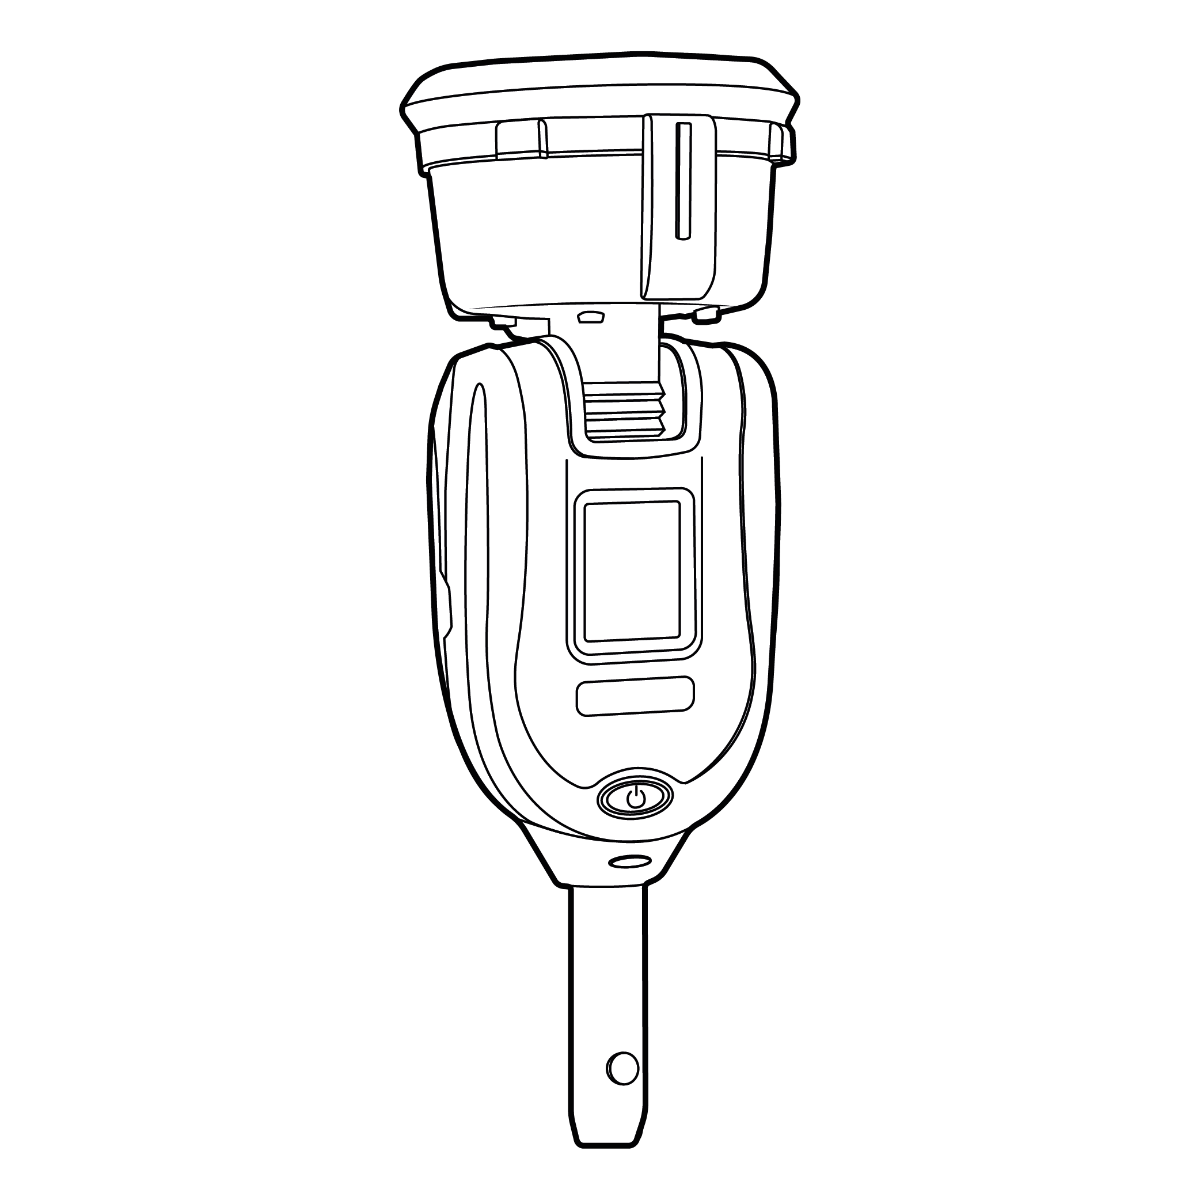
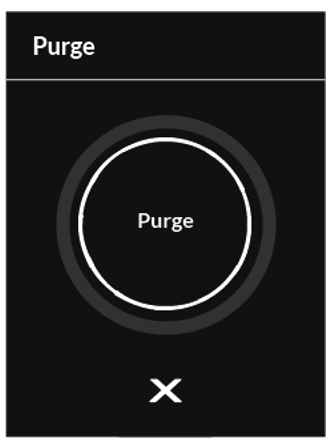
4. Tap the settings icon from the bottom left-hand corner of the LCD display, then tap the “Purge” option. Tap the Purge icon to begin a manual purge cycle. This will take approximately 60 seconds to complete, and smoke should be produced in this time.
1. Make sure the heat beam is aligned with the termistor(s). Rotate the head unit during the heat test.
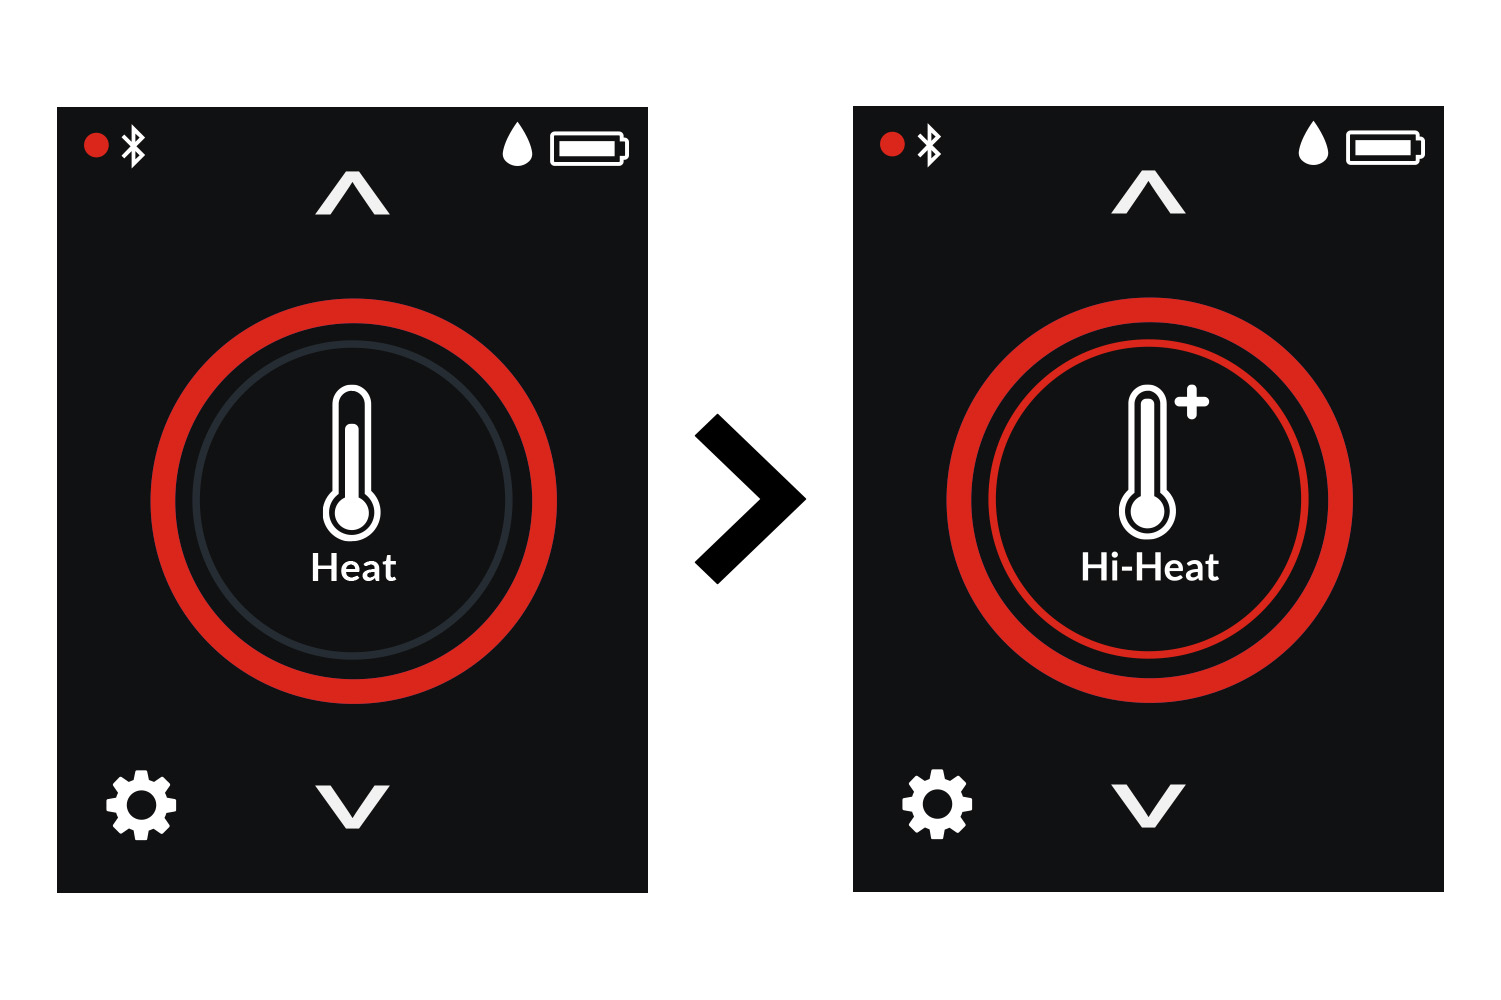
2. Tap Heat icon to switch test mode to Hi-Heat depending on the detector rating. This boosts the heat test to 100°C / 212°F.
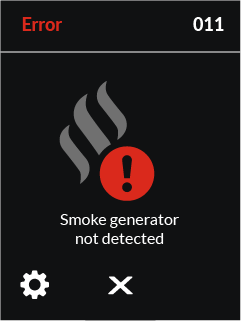
Purple Status LEDs with Error 011 Insert Smoke Generator displayed can mean your smoke generator has not been recognized. The following steps will guide you on how to solve the fault and get the unit back up and running.
1.

2. Clean the gold contacts inside the generator housing on your Testifire XTR2 using an anti-static lint-free cloth or wipe. Allow the contacts to dry thoroughly.
3. Carefully re-insert the smoke generator, then the smoke cartridge and finally the battery. Ensure the clips engage securely for each component, and especially for the generator. Press and hold the generator down firmly for a few seconds to “seat” the generator. When inserting the smoke cartridge, retain the pressure on the back of the cartridge for at least 3 seconds to ensure a secure fit. Switch the unit on.

4. Tap the settings icon from the bottom left-hand corner of the LCD display, then tap the “Purge” option. Tap the Purge icon to begin a manual purge cycle. This will take approximately 60 seconds to complete, and smoke should be produced in this time.

Testifire XTR2 uses optical light sensors inside its test cup and confirms a successful test once the detector activation LED is sensed. The following will guide you on how to achieve the best detector LED recognition with Testifire XTR2.
Further Topics
It is best practice to regularly clean Testifire XTR2. This will prevent excessive dust, dirt and debris from accumulating in and around the test cup. Regularly cleaning and caring for Testifire XTR2 will ensure it maintains optimum performance and prolongs the life of the tester.


